iOS6之後使用全螢幕GoogleMap的兩種方法
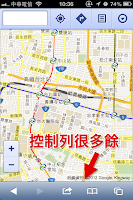
iOS6之後Apple使用了自家的地圖軟體,因此用戶就得跟以前預設的GoogleMap說拜拜了。雖然依然可以從safari瀏覽器叫出WebApp版GoogleMap,但是多了一條控制列很礙眼...
在比較之後,我覺得「ガジェット通信」提供的解決方案是最簡單明瞭的。就改寫成適合台灣地區使用的指令碼了,如下:
指令碼:
短網址:(用iDevice的safari打開點擊就會自動執行)
http://tinyurl.com/8ewbb9g
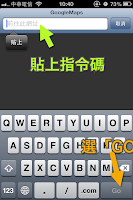
首先將指令複製到safari,並執行
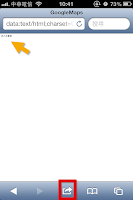
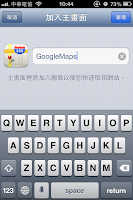
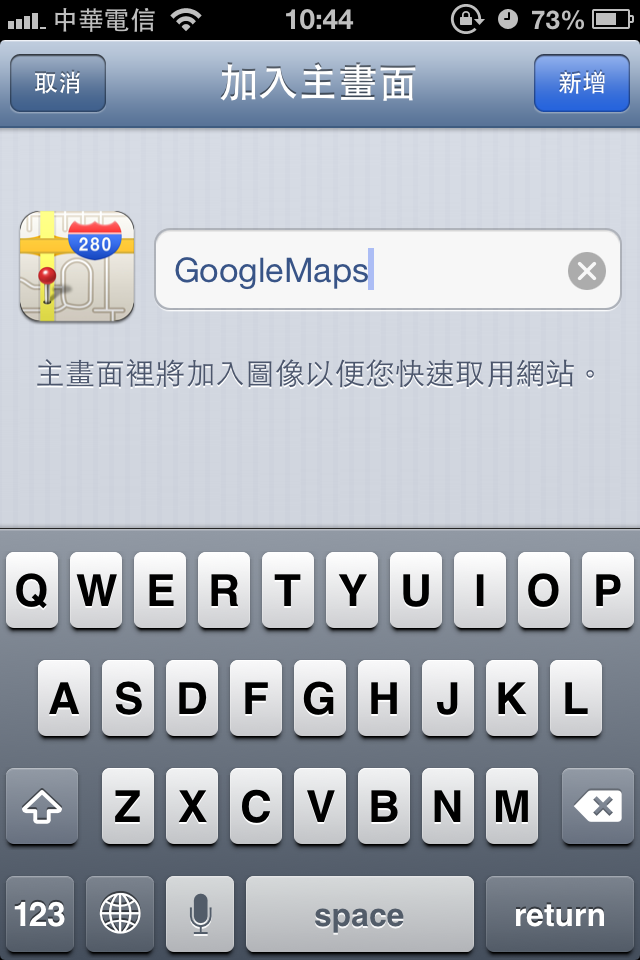
當出現非常小的「加入主畫面」訊息時,選下方的圖示
左右滑動畫面,在功能中找到「加入主畫面」。通常在第二頁
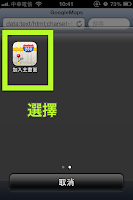
如果喜歡的話你可以重新命名
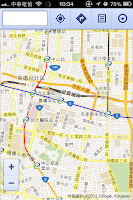
然後GoogleMap就會回到你的桌面上了!裡面也沒有礙眼的控制列
Done.
而「W&R : Jazzと読書の日々」所寫的另一版本指令碼,可以將街景功能還原到GoogleMap中。
指令碼:
短網址:(用iDevice的safari打開點擊就會自動執行)
http://tinyurl.com/8o7lxjm
其餘安裝流程同上
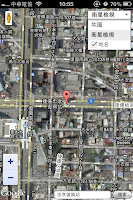
打開後可以發現街景小人在畫面左上角可以使用
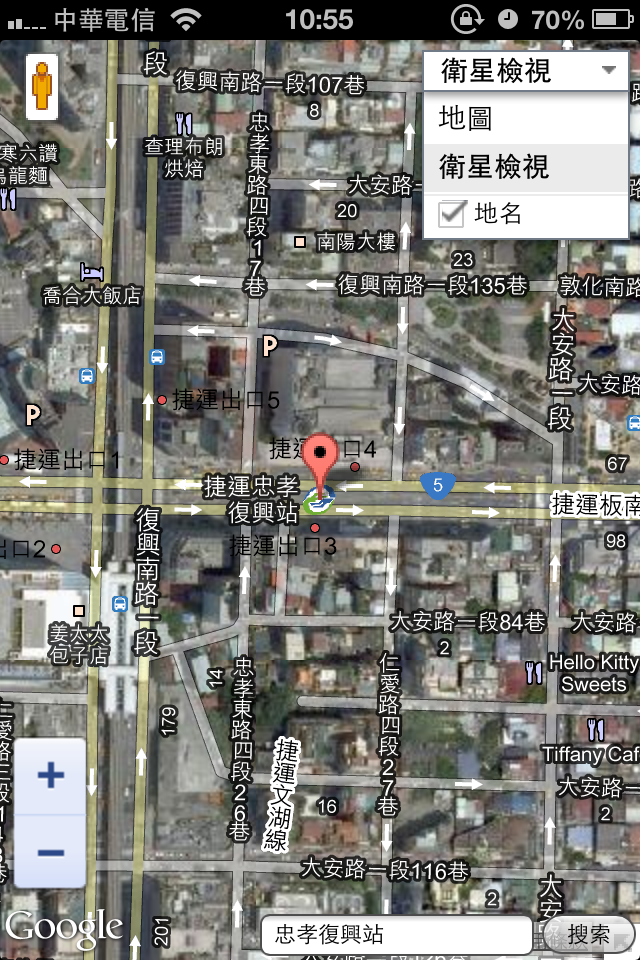
衛星地圖也可使用
兩者比較起來,前者功能比較方便,後者畫面比較美觀。不過相對,方便的不美觀、美觀的載入時間長...所以,看你怎麼選擇了。
參考link:
ガジェット通信
W&R : Jazzと読書の日々
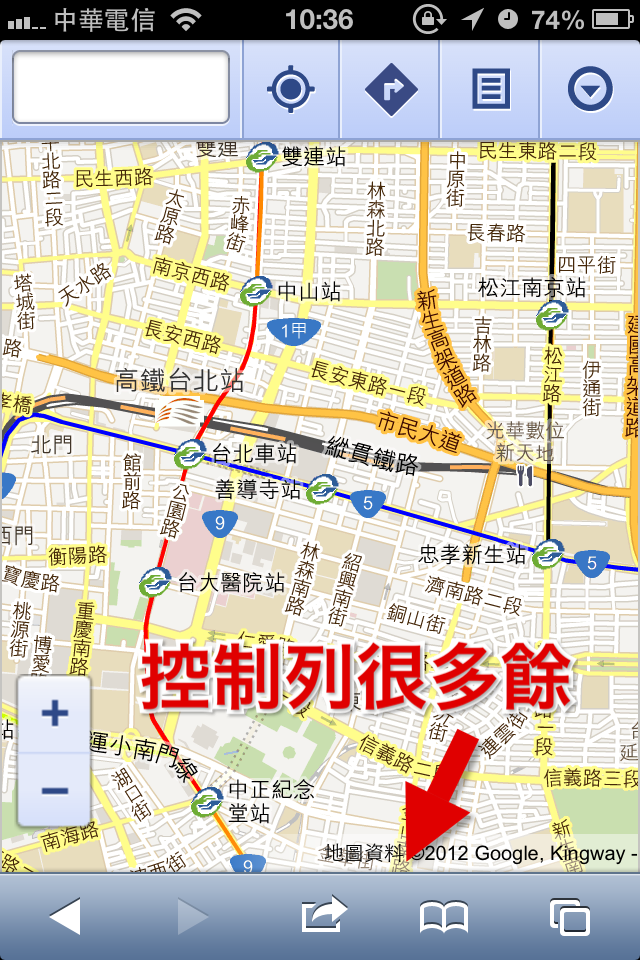
在比較之後,我覺得「ガジェット通信」提供的解決方案是最簡單明瞭的。就改寫成適合台灣地區使用的指令碼了,如下:
指令碼:
data:text/html;charset=UTF-8,GoogleMaps<script type="text/javascript">// <![CDATA[ if(window.navigator.standalone){location.href="https://maps.google.com.tw/";}else{document.write("加入主畫面")} // ]]></script>短網址:(用iDevice的safari打開點擊就會自動執行)
http://tinyurl.com/8ewbb9g
首先將指令複製到safari,並執行

當出現非常小的「加入主畫面」訊息時,選下方的圖示

左右滑動畫面,在功能中找到「加入主畫面」。通常在第二頁

如果喜歡的話你可以重新命名
然後GoogleMap就會回到你的桌面上了!裡面也沒有礙眼的控制列

Done.
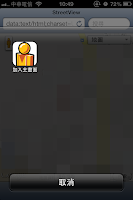
而「W&R : Jazzと読書の日々」所寫的另一版本指令碼,可以將街景功能還原到GoogleMap中。
指令碼:
data:text/html;charset=UTF-8,<head><meta name=viewport content="initial-scale=1.0, user-scalable=no"><meta name=apple-mobile-web-app-capable content=yes><link rel=apple-touch-icon-precomposed href="http://googlediscovery.com/wp-content/uploads/pegman.png"><title>StreetView</title><script src="https://maps-api-ssl.google.com/maps/api/js?v=3&sensor=true"type="text/javascript"></script><script>var geocoder;var map;function initialize(){geocoder = new google.maps.Geocoder();myOptions = {zoom:17,mapTypeId:google.maps.MapTypeId.ROADMAP,overviewMapControl: true,mapTypeControlOptions: {style:google.maps.MapTypeControlStyle.DROPDOWN_MENU},zoomControl:true,zoomControlOptions: {style: google.maps.ZoomControlStyle.LARGE,position: google.maps.ControlPosition.LEFT_BOTTOM}};map = new google.maps.Map(document.getElementById("canvas"), myOptions);navigator.geolocation.getCurrentPosition(function(position){initialLocation = new google.maps.LatLng(position.coords.latitude,position.coords.longitude);MapSet(initialLocation)})}function MapSet(x){map.setCenter(x);var marker=new google.maps.Marker({map:map,position:x,draggable:true,animation:google.maps.Animation.DROP});google.maps.event.addListener(marker,"click",function(){geocoder.geocode({latLng:marker.getPosition()},function(results){new google.maps.InfoWindow({content:results[0].formatted_address}).open(map, marker);})});google.maps.event.addListener(marker,"dragend",function(){var svp = new google.maps.StreetViewPanorama(document.getElementById("canvas"), {position : marker.getPosition(),enableCloseButton:true});map.setStreetView(svp);})}function codeAddress(){address = document.getElementById("address").value;geocoder.geocode({address:address}, function(results,status){if(status == google.maps.GeocoderStatus.OK){MapSet(results[0].geometry.location)}else{alert("找不到地點")}});}</script></head><body onload=initialize() style="margin:0;"><div style="position:absolute;bottom:0;right:0;z-index:99;"><input id="address" type="textbox" value="輸入地點"><input type="button" value="搜尋" onclick="codeAddress()"></div><div id="canvas" style="height:100%"></div></body> 短網址:(用iDevice的safari打開點擊就會自動執行)
http://tinyurl.com/8o7lxjm
其餘安裝流程同上

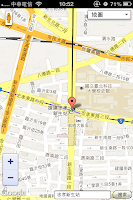
打開後可以發現街景小人在畫面左上角可以使用
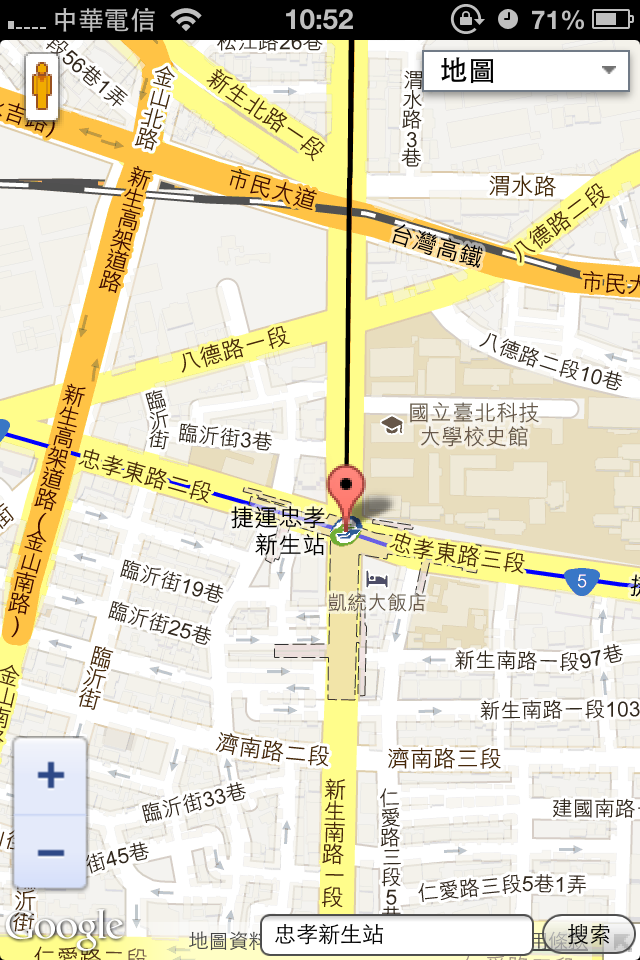
衛星地圖也可使用
兩者比較起來,前者功能比較方便,後者畫面比較美觀。不過相對,方便的不美觀、美觀的載入時間長...所以,看你怎麼選擇了。
參考link:
ガジェット通信
W&R : Jazzと読書の日々


小弟只想知道在沒有無線網路可用的iPad上,怎樣使用導航功能......
回覆刪除1.沒有網路=離線=要找圖資預載的App
回覆刪除2.iPad除了the new之外應該wifi版都沒內建GPS,所以得外接
兩個加起來我覺得大俠你還是重買一台比較划算吧...
查了好幾篇文章都沒說到new ipad wifi有內建GPS @@
回覆刪除大俠
回覆刪除解法很簡單
再買台iphone來導航
當然是不用像Wozniak這麼誇張啦
http://androidcommunity.com/steve-wozniak-shows-us-his-travel-bag-full-of-gadgets-android-included-20120717/
那就是我弄錯了 :p apple自己的表格裡只有4G model有AGPS,跟以前一樣
回覆刪除http://www.apple.com/tw/ipad/specs/
順便寫一下,有AGPS必定有GPS裝置。台灣很久之前某款手機廣告的輔助定位說成AGPS,事實上是誤用,裡面沒有GPS裝置就不是AGPS